
Swift Dev Tools MCP
Bridge your AI assistants with Swift development environment

MCP (Model Context Protocol) - is open protocol that standardizes how applications provide context to LLM’s. In simple it’s like a USB -C port for connecting to AI models to different data sources and tools.
It is intended for integrations across wide range of tools such as AI code editors (Cursor, VSCode, Claude Code etc..) and other applications. By leveraging natural language, MCP allows seamless interaction with multiple tools and data sources.
In this article, we will create a server in Swift that can perform various swift Dev tools operations.
Creating a server
mkdir swift-dev-tools-mcp
cd swift-dev-tools-mcp
swift package init --type executable
Next add the official Swift SDK for Model Context Protocol servers and clients. Update the Package.swift file to include the SDK as dependency

Open main.swift and add the following code
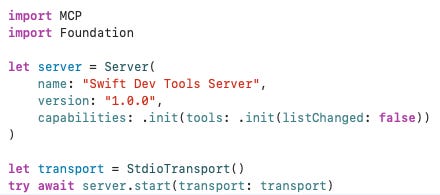
Here we are creating a server with name and version. The capabilities parameters is used to define the capabilities of the server, In this case we are defining only the tools capability.
To start the server , we are using the StdioTransport class, which is a transport layer for the server. It allows the server to communicate with the client via standard input and output.
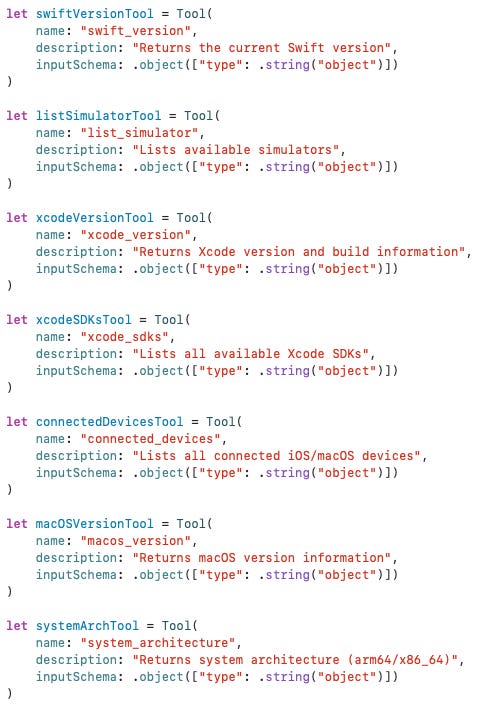
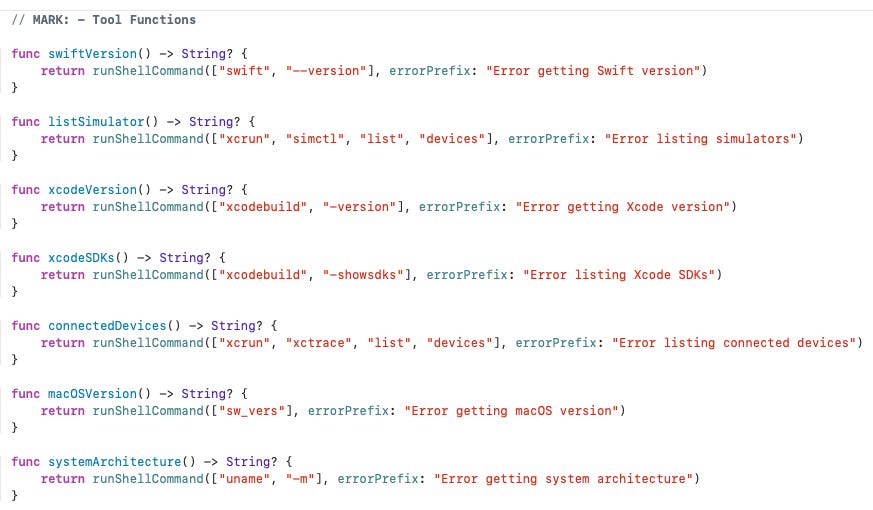
Next, we need to implement tools. The server will have multiple tools that return the following development environment information:
1. Swift Development Environment
swift_version - Returns the current Swift compiler version, build information, and target architecture
system_architecture - Returns the system architecture (arm64 for Apple Silicon, x86_64 for Intel)
2. Xcode Development Environment
xcode_version - Returns the installed Xcode version and build number
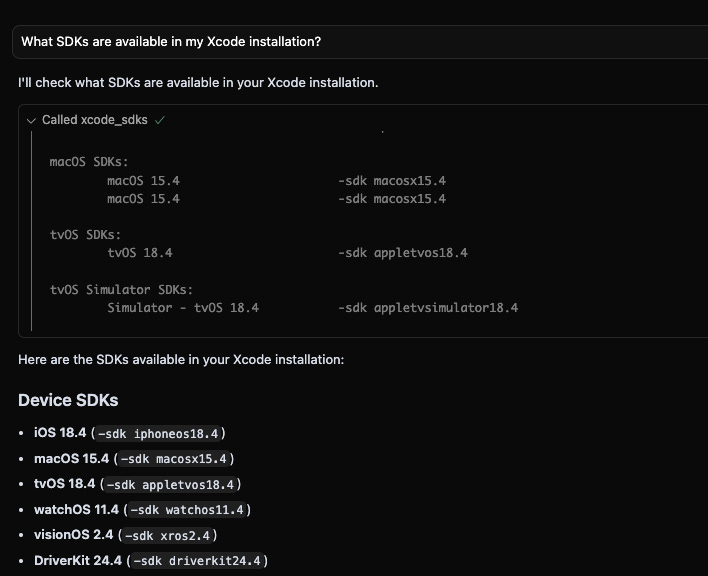
xcode_sdks - Returns all available Xcode SDKs for iOS, macOS, watchOS, tvOS, visionOS, and DriverKit
3. Device and Simulator Management
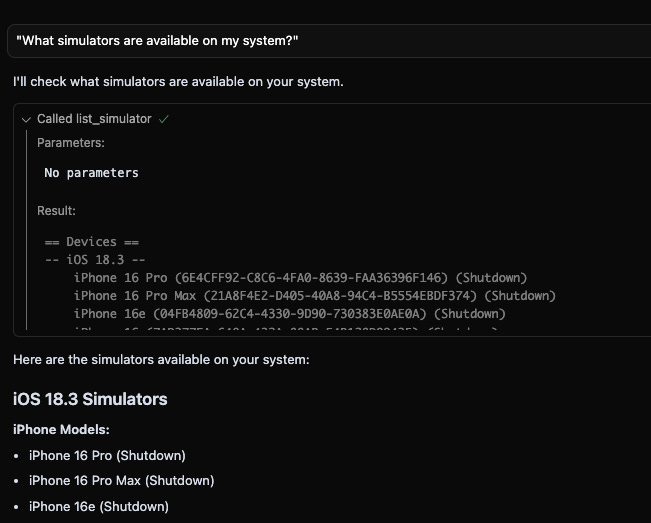
list_simulator - Returns all available iOS and iPad simulators with their current status (Booted/Shutdown)
connected_devices - Returns all connected physical devices (iPhone, iPad, Apple Watch, Mac) and their connection status
4. System Information
macos_version - Returns the current macOS version, product name, and build version
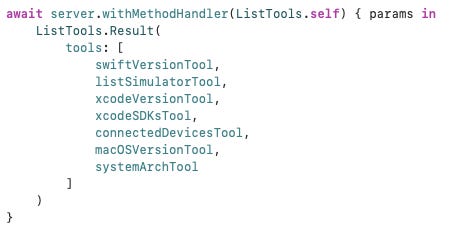
Register all the tools with server.withMethodHandler(ListTools.self)
Note: Tool names should be in snake case and tools may have input schema for input parameters, it’s optional by specification.
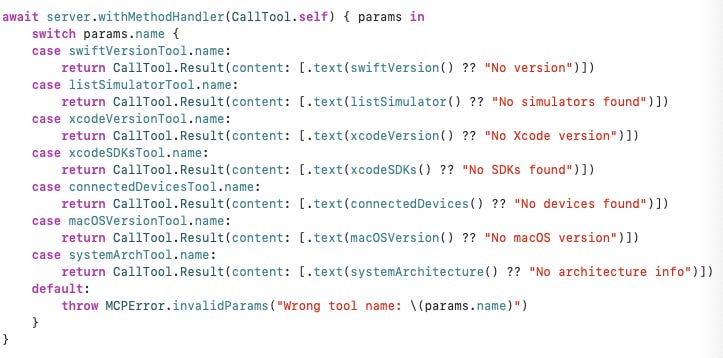
To make server respond to tool, we need to implement the .withMethodHandler(CallTool.self) function. It will be called when the client requests the tool. The method should return a Result object with the result of the tool, as server can contain multiple tools, we can switch on tool name

In the end of the file, add a call to .waitUntilCompleted() to keep the server running.

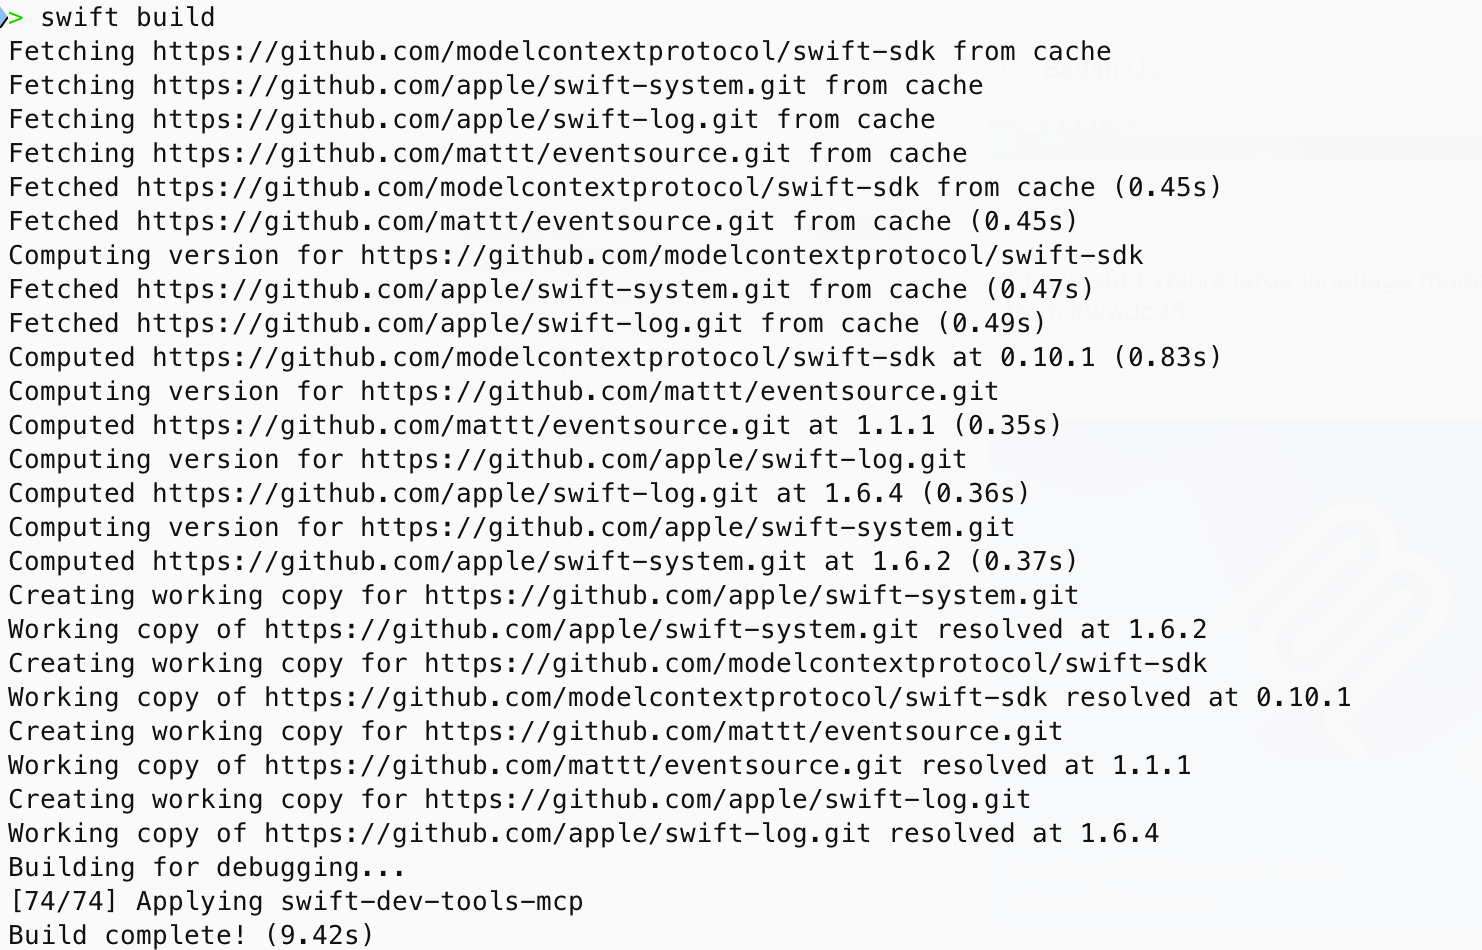
Now , it’s time to build the package to generate the executable.
swift buildYou will see the terminal output like below
Using MCP Servers in Cursor
Go to Cursor Settings —> Tools & Integration, You will see a mcp.json
  "mcpServers": {
    "swift-dev-tools-server": {
        "type": "stdio",
       "command": "<Path of the project>/swift-dev-tools-mcp/.build/arm64-apple-macosx/debug/swift-dev-tools-mcp"
    }
  }
}
Below are few natural language questions you can try with the tool.
"What Swift version am I running?"
"Show me all available iOS simulators"
"What Xcode version do I have installed?"
"List all my connected devices"
"What SDKs are available for development?"
"What macOS version am I on?"
"Am I running on Apple Silicon or Intel?"
"What's my complete development environment setup?"

As next step we can extend this capability to accessible remotely via HomeBrew
Remote MCP Server via Home Brew
Execute the below command to configure the `swift-dev-tools-mcp` which could be used remotely.
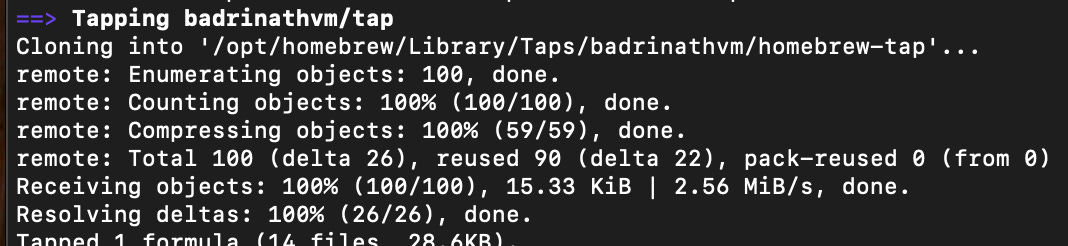
brew tap badrinathvm/tap
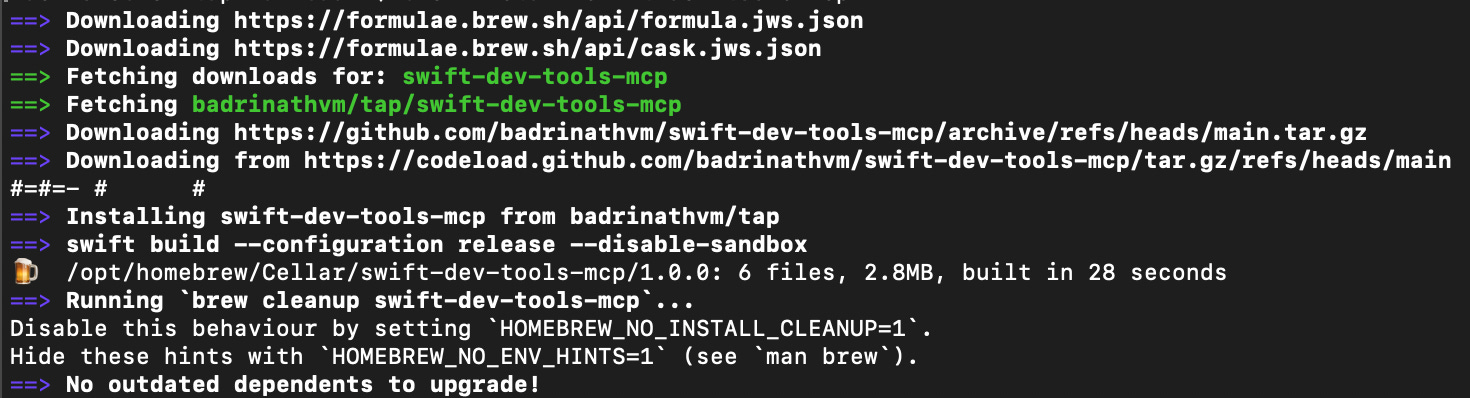
brew install swift-dev-tools-mcp
Now we can use below json in the MCP clients
{
  "mcpServers": {
    "swift-dev-tools-server": {
      "type": "stdio",
      "command": "swift-dev-tools-mcp"
    }
  }
}
We welcome your contributions—just follow the guidelines when adding new tools. The code is available on 📦 Homebrew Tap and 🛠️ Main Project
Happy Coding!!